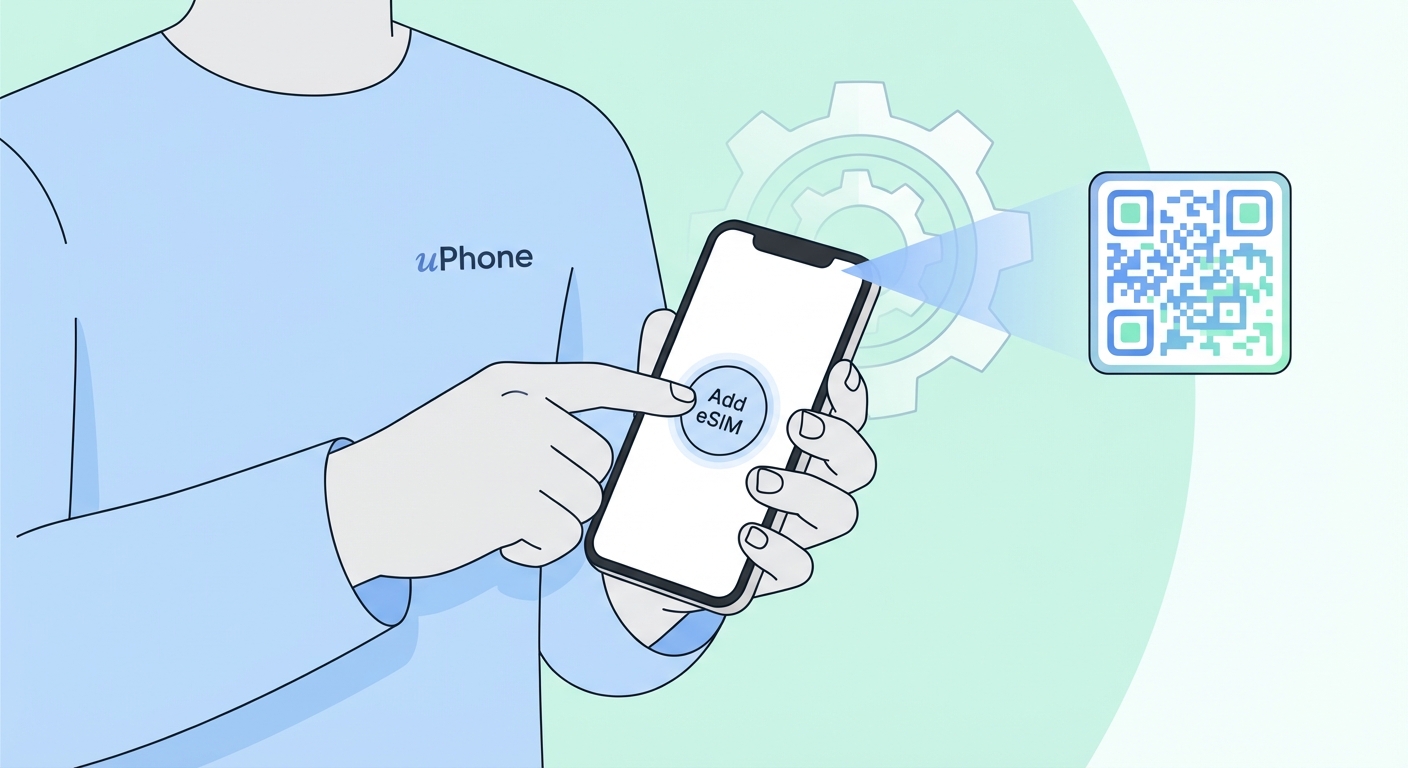
Installing Your eSIM: Step By Step
Get on Wi-Fi first. Then work through the steps below — you'll be connected in under 2 minutes.
Before you begin: You need an iPhone XS or later, carrier-unlocked and eSIM-compatible. Wi-Fi is required too.
1
Connect to Wi-Fi
Get on Wi-Fi first. The eSIM profile downloads over the internet, so you need a live connection.
2
On your iPhone, open the email
Find the Onetel email with your QR code. Open it on the iPhone itself — a second device is not needed here.
3
Press and hold the QR code image
Press and hold your finger on the QR code image in the email. A menu appears — tap "Add eSIM". On iPhone this is the quickest route.
4
Alternative: use Settings
No menu on hold-down? Use Settings → Cellular → Add eSIM → Use QR Code instead, then scan the code with your camera.
5
Point the camera at the QR code
Taking the Settings route? Hold the iPhone camera over the QR code. Detection happens on its own.
6
Activate & label
Tap Continue, then Add Cellular Plan. Label the line with where you are going, e.g. "Japan trip". That is it.
Fastest way on iPhone
Open the Onetel email using your iPhone, then press and hold the QR code until the popup shows up. Tap "Add eSIM" — that's it, seconds later, Settings never opened.
Tip
The eSIM can be installed ahead of your trip and switch it on after you land. Settings → Cellular → pick your eSIM plan → toggle on or off whenever.
Troubleshooting
The code has to sit on a second device or a printout — a phone cannot read its own screen. Expired code? Support will reissue it.
That normally means a carrier lock. Ask your carrier to remove it, or open your device settings and look under Cellular for an eSIM option.
Data Roaming has to be on for the eSIM line: Settings → Cellular → your eSIM → switch on Data Roaming.
Once a profile installs, it stays tied to that handset for good. Message our support team and they will arrange a replacement.